

Construction sites are among the most dangerous places for fire. With flammable materials everywhere, hot works happening daily, and temporary electrical setups, the risk is constant. If you’re a site manager, contractor, or health and safety officer, this is more than just a matter of adhering to best practices; it’s a legal obligation. This guide equips you with essential information to protect your site, safeguard your workers, and ensure your project remains safe from fire hazards.
Construction sites are quite different from regular buildings. They’re in a constant state of development, which brings about distinct fire hazards. For instance, processes like welding and cutting can send sparks flying up to 10 metres or even more, potentially landing on combustible materials like timber, insulation, or packaging.
The potentially unsafe electrical setups are everywhere. Overloaded extension cords, temporary power boards, and cables sprawled across muddy ground all heighten the risk of fire. Additionally, flammable substances often accumulate, such as paints, solvents, LPG, timber, and various packaging materials. These are usually stored temporarily in less-than-ideal locations.
In the early phases of construction, access issues can hinder fire engines from reaching the scene promptly. Narrow gates, unstable ground, and piles of building materials can block pathways, creating significant challenges.
On top of that, fire protection systems are typically absent during much of the construction process. Alarms, sprinklers, and detection systems may not be operational, which means that the responsibility for spotting fires often falls on individuals nearby.
The expenses extend far beyond just the visible destruction. We’re talking about financial losses that can range from thousands to even millions for a single fire. This figure includes not only the property damage but also delays.
Project timelines can stretch significantly, adding months to the overall schedule. This can trigger penalty clauses and create a nightmare when it comes to coordinating with subcontractors.
Then there’s the insurance aspect. Premiums might soar, excesses could rise, and in some cases, getting coverage can feel impossible.
Legal issues can also rear their ugly heads. The risks include hefty fines, potential imprisonment, and in the worst-case scenario, charges of corporate manslaughter if a life is lost.
Let’s not forget about reputation damage. News of such incidents travels quickly and can impact future contracts. Above all, fires pose a severe threat to life. Your employees, security personnel, and firefighters are all in harm’s way.
In the UK, there are two key laws that apply:
According to the CDM Regulations 2015, everyone involved in a construction project has specific responsibilities.
Principal contractors are required to:
On the other hand, everyone else must:m
Failure to comply with these regulations can lead to severe consequences, including hefty fines and even imprisonment.
The “responsible person,” which is typically the principal contractor or site manager, has several key responsibilities. First and foremost, they must regularly conduct fire risk assessments, especially as conditions on the site change.
Based on these assessments, it’s crucial to implement appropriate fire safety measures. This not only protects the site but also ensures everyone knows what actions to take if a fire does occur.
Training is essential; everyone involved should be well-informed about fire protocols and emergency procedures, including clear evacuation plans.
Additionally, all fire safety equipment must be properly maintained to ensure it functions effectively when it’s needed the most.
It’s important to note that fire authorities actively enforce these regulations. They have the power to conduct inspections, issue prohibition notices that can force immediate work stoppages, and pursue prosecution if necessary. The penalties for non-compliance can be severe, similar to those under CDM, with the potential for unlimited fines.
Hot work activities are one of the leading causes of construction fires. Techniques like welding, grinding, and cutting generate sparks and heat that can ignite materials, catching workers off guard.
Electrical issues also pose significant dangers, stemming from overloaded circuits, damaged wires, and temporary setups that often lack adequate safeguards. And then there’s smoking, lighting up where it shouldn’t happen, especially near flammable materials, which can turn disastrous.
Interestingly, arson also occurs more frequently than most people realise. Construction sites are often easy to access, filled with combustible materials, and not secured properly at night.
Flammable items can include everything from timber and insulation to paints, adhesives, and LPG cylinders, all amplifying the risk.
The level of risk changes throughout the construction process:
During the groundwork phase, the threat is relatively low. However, it’s crucial to ensure that site cabins and fuel storage are well protected.
As you move to frame construction, the risk peaks. You’ll see a huge influx of timber, insulation, and temporary weather protection arriving on site.
Then comes the fit-out stage, where hot work is prevalent, due to the various trades onsite. This is when you have to be most alert.

Utilise the HSE’s five-step method:
Take a walk around your site. Look for sources of ignition, materials that can catch fire, and potential fire scenarios. Keep track of places where hot work is done, electrical installations, storage zones, and where waste tends to pile up.
Who might be in danger? This includes site workers, visitors, contractors, security personnel, and the public in the vicinity. Make a note of anyone who may require assistance during an evacuation.
For each hazard, determine how likely it is to occur and the possible consequences. Then, work on eliminating, reducing, or managing the risk. Follow this order: remove the hazard, substitute with something safer, implement engineering controls, establish procedures, and provide personal protective equipment as a last resort.
Make sure to write it down. Document the hazards, the people at risk, the control measures you’ve put in place, and your emergency plan. If you have five or more employees, this is required by law.
Construction sites are always changing. Ensure you review the assessment when:
Keep it up to date! Your site is constantly evolving. It’s important to revisit your fire risk assessment regularly.
Encourage your team to point out any fire hazards they notice. This should be woven into the fabric of your site culture, and it shouldn’t be seen as something that ‘slows down’ progress.
When construction is underway, temporary wireless systems come into play.
Ensure detection systems are positioned in the right spots:
Conduct weekly tests at the same time each week, but switch up the call point to ensure recognition of the alarm sound.
Perform monthly checks that involve a visual inspection of all devices. Look for any damage, confirm battery levels, and ensure nothing is obstructing the detectors.
An annual service is typically covered in a manufacturer agreement, such as with Defenders’ servicing and monitoring plan.
Documentation is crucial: Maintain a fire alarm logbook. Record all tests, servicing details, faults, and instances of false alarms. This not only demonstrates compliance but also helps identify issues.
Investigate every false alarm. Frequent occurrences can lead to complacency. Identify the root cause, whether dust, poor detector placement, or equipment malfunctions and resolve the issue promptly.
Learn more about fire equipment maintenance
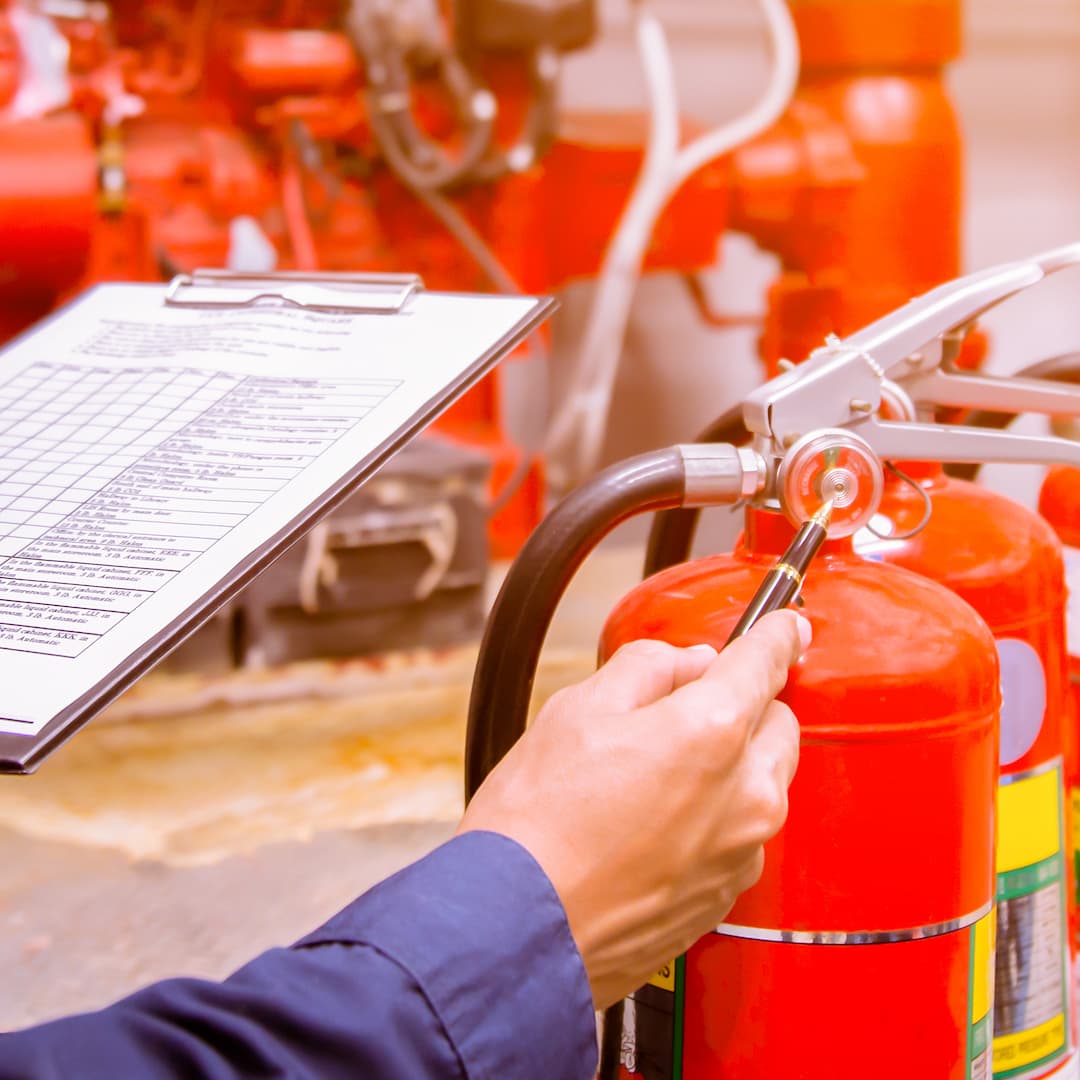
Water (red label): This type is ideal for fires involving wood, paper, and fabric (Class A). You’ll often find it on construction sites. Remember, never use it for electrical or liquid fires!
Foam (cream label): Suitable for both solid and liquid fires (Class A and B), foam extinguishers are more versatile but come at a higher price point.
Powder (blue label): A multi-purpose option that can tackle Class A, B, and C fires, including electrical. While they are popular near electrical equipment, they can create visibility issues when used due to the powder substance.
CO2 (black label): Designed for electrical and liquid fires, CO2 extinguishers are excellent for use around distribution boards and site offices since they leave no residue.
Lithium (green label): Expertly crafted to address the specific dangers posed by lithium-ion battery fires
Wet Chemical (yellow label): Specifically for cooking oil fires, these are essential in site canteens.
Where to Place Fire Extinguishers
Follow travel distance guidelines:
Strategically position extinguishers at:
Make Them Visible: Mount extinguishers at a consistent height, with handles 1-1.5 meters above the ground. Use photoluminescent signs for better visibility and ensure they are easily accessible. Regularly check to clear any obstructions. If necessary, protect them from the weather with IP-rated cabinets.
Browse our guide to fire extinguishers
Fire Extinguisher Trolleys are essential for larger sites or areas with a high risk of fire. These wheeled trolleys offer:
You can utilise these trolleys in expansive open spaces, hazardous zones, storage areas, and loading bays.
Maintenance is crucial. Annual servicing by qualified professionals, adhering to BS 5306 standards, is a legal requirement for all extinguishers. Service labels will indicate when the next service is due.
Monthly inspections are also important: ensure they’re correctly positioned, access is unobstructed, seals are intact, pressure levels are appropriate, there’s no damage, and that signage remains visible.
After any use, even minimal use, requires the trolleys to be serviced and refilled before being put back into operation.
Training is vital for key personnel responsible for using extinguishers. They should receive fire extinguisher training that covers:
All signs need to adhere to the Health and Safety (Safety Signs and Signals) Regulations 1996. Here’s what you should have:
Fire Action Notices: These should be placed at every call point and throughout the site. They should clarify how to raise the alarm, the procedure for evacuation (including the nearest exit and assembly point), and when it’s appropriate to fight a fire (only if it’s safe, you’ve been trained, and the fire is small). Don’t forget to include emergency contact numbers!
Fire Exit Signs: Use the running man symbol (white on green) along with directional arrows. Make sure these signs are always visible from any location on the site.
Fire Extinguisher Signs: Identify extinguisher locations with white flames on a red background.
Assembly Point Signs: These should be large and easily seen, placed well away from buildings.
Fire Door Signs: Every fire door should display a sign that reads ‘Fire Door Keep Shut’ to prevent anyone from propping them open.
Use Photoluminescent Signs: Glow-in-the-dark signs are crucial as they remain visible during power failures or when smoke obscures regular lighting. This is especially important on construction sites where the lighting may not be reliable.
Proper Positioning: Signs should be mounted at eye level (typically between 1.5 and 2 meters). Ensure there’s always a clear line of sight, there should be at least one sign visible from any spot. Keep these signs clear of any obstructions. Use weatherproof materials for external signs, and consider including text in multiple languages for non-English speaking workers (remember, symbols carry universal meaning).
View the fire signage guide for construction sites
Having the right equipment is only effective if everyone understands their role. Let’s break down the essential elements:
Alarm Arrangements: It’s crucial to know how fires are detected and how alerts are raised. This includes the fire alarm system, manual call points, and backup methods like airhorns.
Evacuation Procedures: When an alarm goes off, stop what you’re doing right away, head to the nearest exit, and leave your belongings behind.
Assembly Points: Familiarise yourself with the exact locations of assembly points and the routes to get there. Remember, for larger sites, there may be multiple points.
Roll Call: We need a solid plan to ensure everyone got out safely. This could involve sign-in systems, visitor logs, and accountability from team leaders.
Calling 999: Know who is responsible for making the call and what information is needed. Confirm that it’s a fire, provide the site address and the nearest junction, specify what’s burning, and mention if anyone is missing or trapped. Also, provide your name and contact number, and have someone ready to meet the fire service at the entrance.
Communication: It’s vital to understand how the alarm will be communicated across large or noisy sites. This could involve sounders, airhorns, phone trees, or runners.
Neighbour Warning: If a fire poses a risk to nearby buildings, especially during renovations in occupied areas, it’s important to alert them.
After Evacuation: No one should re-enter the building until either the emergency services or senior management gives the go-ahead.
Fire Marshals/Wardens: Responsible for sweeping their designated area during an evacuation. This includes checking toilets, storage areas, and break rooms. Ensure doors and windows are closed safely when possible. Guide individuals to the nearest exits and report the completion of the sweep at the assembly point.
Assembly Point Coordinator: Oversees the assembly point, organises roll call, and confirms if anyone is unaccounted for.
Emergency Services Liaison: Makes the emergency call (999) and remains at the site entrance to greet the fire engines.
Site Manager: Holds overall command, makes key decisions, and coordinates with emergency services.
Everyone Else: Must respond immediately to alarms, evacuate promptly, assist those who may need help, and report to the assembly point.
It’s essential to test your evacuation plan at least every 12 weeks, or more frequently for larger or higher-risk sites.
What to Do: Announce most drills to avoid hazards related to hot work (unannounced drills can be used to assess genuine readiness).
Change the timing of drills to evaluate different shifts and environmental conditions. Create various scenarios, like blocked exits, casualties, or fires in specific areas. Keep track of the evacuation time.
Afterwards, conduct a debriefing with the marshals and management. Make sure to document everything: the date, time, duration of the drill, number of participants, observations made, and any needed improvements.
Not everyone can evacuate on their own. It’s a legal obligation to assist those who need help.
Individuals with permanent disabilities: This includes wheelchair users, those with visual or hearing impairments, cognitive challenges, and mobility issues.
People facing temporary limitations: Think about those with broken bones, recovering from surgery, or dealing with injuries.
Pregnant individuals: From around 28 weeks, it’s important to be mindful of potential mobility issues.
Visitors with disabilities: Remember to consider clients, consultants, and inspectors who may require assistance.
Language barriers: Though they might not require full PEEPs, keep in mind how non-English speakers comprehend alarms.
Key Principle: If someone can’t evacuate quickly and independently when the alarm rings, they require support.
Consult with the individual in a private and sensitive manner. Ask them: Can they hear or see the alarm? Can they navigate the escape routes on their own? What challenges might they encounter? What assistance would be beneficial? Do they require any specific aids or equipment?
Document everything: Include the person’s name and location on the site, any specific challenges they’ve identified, the assistance they need (who will help and what they’ll do), and any equipment that might be necessary (like evacuation chairs, hi-vis vests, or communication tools).
Consider alternative routes if necessary and outline the assembly point arrangements.
Think about communication methods as well.
Assign Buddies: Designate individuals to assist. They should be physically capable, trained in evacuation procedures, aware of their responsibilities, and present when the person is on-site. It’s wise to have backup buddies available too.
Test the plan during fire drills, making sure to get consent from the person involved.
Review Regularly: Reassess the plan whenever there are changes to the site layout, the individual’s condition, or at least once every three months.
Keep It Confidential: PEEPs contain sensitive health information, so ensure that distribution is limited to those who need to know, such as the site manager, fire marshals, assigned buddies, and emergency services.

Hot works are responsible for more construction fires than any other activity. To manage these risks, it’s essential to implement a permit system.
So, what exactly falls under the category of hot works? This includes welding and cutting (in all forms), grinding and disc cutting that produces sparks, soldering and brazing, hot-applied roofing and bitumen work, as well as the use of heat guns and torches. Additionally, any power tool that generates sparks near flammable materials counts as hot work.
Your Permit System should follow these steps before work begins: The worker needs to fill out a permit that includes details like work description, location, equipment to be used, and duration of the task. Next, the supervisor must inspect the area and evaluate the associated risks. After this, control measures should be put in place, and formal authorisation should be secured with a signature.
Risk assessment is vital right at the start: The permit requires a review of the current conditions just before the work kicks off. The control hierarchy should be followed:
First, eliminate the hazard: Can cold methods be utilised instead? Next, consider relocating the work to designated hot work areas. Remove any combustibles by clearing a 10-metre radius or utilising fire-resistant screens. It’s also important to contain any heat or sparks with fire-resistant screens, blankets, or barriers.
Make sure to provide firefighting equipment, ensuring that the appropriate extinguishers are readily available. A fire watch is necessary during and after the work.
Fire watch requirements include continuous monitoring throughout the work and for at least 60 minutes following its completion, often for even longer. The fire watch is tasked with vigilant monitoring for any signs of ignition, keeping firefighting equipment on hand, and having the authority to stop work if conditions become unsafe. They must continue to observe after work ends, as sparks can smoulder for hours.
Finally, permit closure is crucial. Make sure to formally close the permit after the fire watch is complete and after a thorough inspection of the area.
Browse our guide to fire prevention on site.
When storing LPG and gas, it’s crucial to keep them in secure cages positioned away from buildings, excavations, and drains. Ensure they’re shielded from the elements with ventilated covers, stored upright, and secured with chains.
Always separate full cylinders from empty ones. Before using gas, check hoses and connections thoroughly. Use the appropriate regulators and place cylinders on stable ground, ensuring they are distant from any ignition sources. Remember, never use flames to check for leaks, and always turn off valves during breaks.
In case of an emergency, if a cylinder catches fire, evacuate the area immediately and call 999. Heating can lead to an explosion known as BLEVE (Boiling Liquid Expanding Vapour Explosion), so take precautions seriously.
Poor housekeeping can lead to fires, so it’s important to clear waste every day, especially in high-risk areas. Avoid letting waste pile up under stairs, in escape routes, or near electrical equipment.
For oily rags, make sure to store them in sealed metal containers and remove them daily, as they have the potential to spontaneously combust.
Security and arson prevention are vital. Arson poses a genuine threat, particularly on construction sites where access is easy, there’s plenty of fuel, and the isolation at night raises risks.
Physical: Ensure a minimum of 2 metres of height of fencing around the perimeter. Install secure gates fitted with strong locks. Eliminate any climbing aids, such as ladders or scaffolding, that may be close to the fences. Additionally, implement security lighting around the perimeter as well as in critical areas.
Personnel: For larger sites, having security guards is essential. They not only provide a visible presence but also conduct regular patrols and are trained for emergency responses.
Electronic: Set up CCTV cameras at the perimeter and in vital locations, like flammable material storage and accommodation areas. Make sure to have intruder alarms in place and consider remote monitoring services for added security.
Material Security: All flammable materials should be locked away in secure storage units. Additionally, ensure that LPG cylinders are either removed or properly secured. Safeguard all plant and equipment as well.
Access Control: Implement sign-in and sign-out systems to keep track of who is on-site at all times. Maintain good communication with emergency services.
Pre-incident: It’s vital to inform local police and fire departments about your site. Provide them with key information such as:
Familiarisation Visits: Invite the fire department to tour the site during construction. This helps them become familiar with the layout and access points, ensuring a quicker response in case of an emergency.
Ensure escape routes are unobstructed and clearly marked. Confirm that fire doors are functioning properly and not propped open. Check that the fire alarm monitoring system is fault-free. Make sure fire extinguishers are in their designated spots and remain unused.
Hot work permits should be in place, and flammable materials must be secured without any spills. Clear out waste regularly, and ensure there are no overloaded electrical circuits or damaged wires.
Conduct a fire alarm test each week, using a different call point each time. Test the emergency lighting and check the extinguishers for service labels, pressure levels, and overall condition. Ensure that all signage is visible and easy to read.
Walk the escape routes and look for any issues, and verify that the assembly point is clear and properly marked. Make sure all hot work permits are filled out correctly.
Review the fire risk assessment to account for any changes in conditions. Ensure all training is up to date, and audit subcontractor compliance. Verify that all equipment servicing is current and review the quality of hot work permits. Analyse incidents and near-misses, plan fire drills, and update emergency contact details.
When there is a significant change in construction phases, reassess the fire risks and update emergency plans to reflect the new layout. Reposition fire alarm devices and adjust the locations of extinguishers as necessary. Update signage for escape routes and revise assembly points if required. Finally, make sure to brief everyone on these changes.
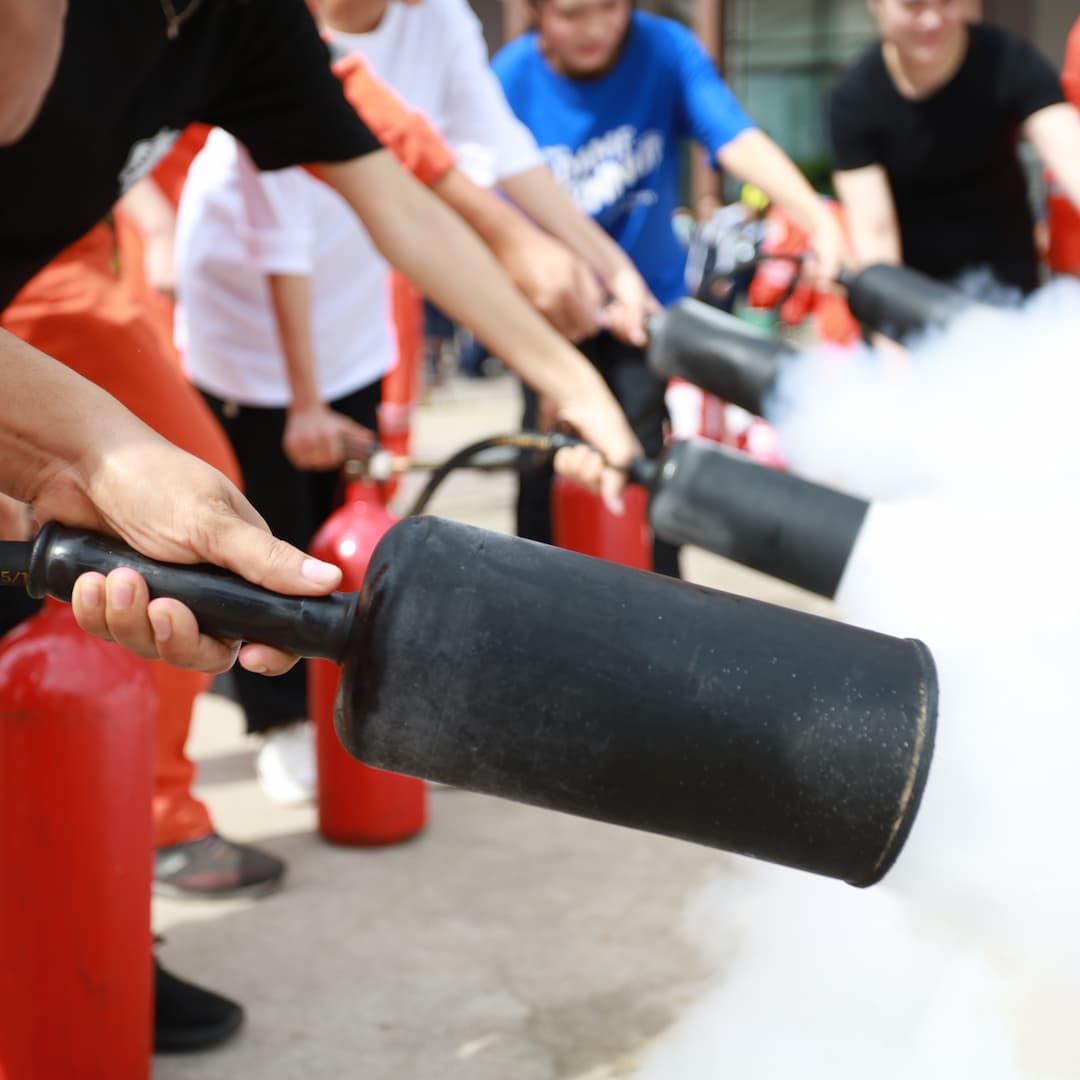
Understanding site-specific fire risks is crucial for everyone. Familiarise yourself with where the alarm call points are located and what the alarm sounds like.
Know exactly what actions to take when you hear the alarm, including evacuation procedures and the routes you should follow. It’s also important to be aware of where the assembly point is situated.
Locate the fire extinguishers and be aware of any hot works permit requirements, if applicable. Additionally, learn how to report any hazards you might encounter.
Recognising fire risks is a key part of your role. Be well-versed in evacuation procedures and how to use extinguishers effectively.
Understanding search and sweep techniques, as well as emergency communication protocols, is vital. After an incident, follow the post-incident procedures carefully. Learn more about the role fire marshals play on-site.
Be aware of the fire risks associated with your specific activities and the requirements of the permit system. Implement prevention measures before, during, and after your work, and stay vigilant with fire watch procedures.
Familiarise yourself with fire safety legislation and risk assessment methods. Develop effective emergency plans and manage fire safety systems.
Be prepared to conduct incident investigations and handle interactions with enforcement authorities.
Annual refreshers are essential for everyone, along with toolbox talks that convey targeted messages. Share safety bulletins to communicate lessons learned, and conduct fire drills to provide practical training.
Every fire, near-miss, and false alarm teaches you something.
Immediate actions are crucial. First, ensure that everyone is safe and accounted for. It’s vital to prevent anyone from re-entering the area until it has been confirmed safe. Once it’s secure, preserve the scene for investigation.
As for the investigation, appoint a qualified investigator who can gather all necessary evidence, including photographs, witness statements, and any relevant physical evidence. The goal is to determine the root causes of the incident, identify any contributing factors, and develop corrective actions to prevent future occurrences.
Document all findings thoroughly and make sure to share the lessons learned with all relevant parties.
Regarding RIDDOR reporting, it’s important to notify the HSE if the fire results in: a death or serious injury, incapacitation for seven days or longer, or any dangerous occurrences, including specific scenarios related to fire or explosions.
Don’t overlook false alarms. They can lead to a false sense of security.
It’s important to dig into the reasons behind them:
Address the root issues to prevent future occurrences.
Also, make sure to share what you learn:
Achieving excellence in fire safety hinges on several key factors:
First, there must be clear accountability; everyone involved should understand their specific role.
Next, we need dynamic risk assessment; as conditions shift, so should our evaluations.
It’s crucial to have robust temporary systems in place; don’t wait around for permanent solutions.
Implementing strict controls on hot works is vital; this alone can lead to significant improvements.
Regular fire drills are necessary to ensure that our plans function well in real-life scenarios.
Inclusive evacuation procedures are essential, with PEEPs (Personal Emergency Evacuation Plans) for everyone who requires assistance.
Finally, a culture of continuous improvement is important; always learn from each incident.
Investing in these areas can prevent losses that might otherwise jeopardise projects and lives.
We’ve created a comprehensive, ready-to-use checklist covering everything in this guide.
Your PDF includes:
DOWNLOAD YOUR FREE CHECKLIST NOW
Get instant access plus regular construction safety updates when you sign up for a newsletter on the homepage.
Temporary Fire Alarm Systems – Wireless systems for construction sites
Polaris Fire Safety Solutions – Comprehensive equipment and systems
Fire Extinguishers – Selection guide for your site